How to Sterilize Baby Bottles: Boiling, Steam, and Dishwasher Methods Compared
The Short Answer First
You have four practical ways to sterilize baby bottles: boiling, electric steam sterilizers, microwave steam bags or units, and a dishwasher with a hot-water and heated-dry (sanitize) cycle. All four work. The differences come down to time, counter space, cost, and how well each method suits the bottles you actually own.
Just as important: most families don't need to sterilize at every feed. Current guidance from the CDC and most pediatric sources is that daily sanitizing matters most for babies under about 2 months old, babies born prematurely, or babies with weakened immune systems. For older, healthy babies, thorough washing in hot, soapy water (or a dishwasher) after every feed does the heavy lifting, with sterilizing as a periodic extra. If your pediatrician has given you specific instructions, follow those over any general rule — including ours.
Here's how the methods compare, then a step-by-step walkthrough of each.
Sterilizing Methods at a Glance
| Method | Active time | Total time | Upfront cost | Best for |
|---|---|---|---|---|
| Boiling | ~5 min | 10–15 min | The pot you already own | Occasional sterilizing, small homes, travel |
| Electric steam sterilizer | ~2 min | 10–15 min + cool-down | Typically $30–$100, varies by model and retailer | Daily sterilizing, bigger bottle rotations |
| Microwave steam (bags or unit) | ~2 min | 5–10 min | Bags are a few dollars; units typically $15–$30 | Small kitchens, travel, minimalists |
| Dishwasher (sanitize cycle) | ~2 min loading | 1.5–3 hr cycle | Uses what's built in | Households already running daily loads |
A note before any method: always wash first. Sterilizing kills germs; it does not remove milk residue. Disassemble everything — bottle, nipple, ring, valve — and scrub in hot, soapy water with a dedicated bottle brush, then rinse. Sterilizing a bottle with milk film in the nipple tip is doing half the job.
Method 1: Boiling
Boiling is the original sterilizer, and it still holds up. No gadget, no counter space, works anywhere with a stove and a pot.
How to do it
- Disassemble and wash all parts as above.
- Place parts in a large pot and cover completely with water. Make sure no air bubbles are trapped inside bottles.
- Bring to a rolling boil and boil for 5 minutes.
- Remove parts with clean tongs and place on a clean drying rack or paper towel. Air-dry fully — don't towel-dry, which can reintroduce germs.
Worth knowing
Boiling is the hardest method on soft parts. Nipples and valves degrade faster with repeated boiling — expect to replace them sooner, and check for stickiness, swelling, or cracks. A few bottle materials also have temperature limits, so check the manufacturer's care instructions before the first boil. And it demands your attention: a forgotten pot is a real hazard in a house that already has its hands full.
Method 2: Electric Steam Sterilizer
A countertop steam sterilizer is the set-it-and-forget-it option: add water, load parts, press a button. Most cycles run under 15 minutes, and many models keep contents sterile for several hours if the lid stays closed — check your model's manual for its specific claim.
How to do it
- Wash and rinse all parts first.
- Add the measured amount of water the manual specifies — this matters; too little can end a cycle early.
- Load parts with openings facing down so steam circulates inside them.
- Run the cycle and let everything cool before handling. Steam burns are the most common user injury with these — open the lid away from your face.
Worth knowing
This is the method that claims permanent counter space, which is a genuine cost in a small kitchen — the same test we apply to warmers in our honest look at bottle warmers. Mineral scale builds up in hard-water areas, so plan on regular descaling with the manufacturer's recommended method or cycles get weaker over time. And a sterilizer only fits so many parts; if you're running eight bottles plus pump parts, you may be running two cycles.
Method 3: Microwave Steam Bags or Units
Microwave sterilizing splits the difference: steam-sterilizer effectiveness with almost no storage footprint. Reusable steam bags typically survive around 20 uses each (the bag itself will say), and rigid microwave units are essentially a vented box with a water reservoir.
How to do it
- Wash and rinse parts.
- Add the specified amount of water to the bag or unit — precision matters here more than anywhere, since too little water means not enough steam.
- Microwave for the time stated for your microwave's wattage.
- Let it stand before opening, and open away from your face. Drain and air-dry.
Worth knowing
Metal parts can never go in, and some bottle components aren't microwave-safe — check care instructions. Results depend on your microwave's wattage matching the instructions, which makes this method slightly less foolproof in unfamiliar microwaves (hotel rooms, grandma's house). Capacity per cycle is small: usually two to four bottles.
Method 4: The Dishwasher
If you run a dishwasher daily anyway, this is the lowest-effort path. Use the hot-water wash and a heated-dry or sanitize cycle; dishwashers with a certified sanitize setting are designed to reach temperatures that reduce germs to safe levels.
How to do it
- Separate all parts. Small pieces — valves, rings, nipples — go in a closed-top basket or dishwasher-safe mesh bag so they don't fall onto the heating element.
- Bottles face down on the top rack unless the manufacturer says otherwise.
- Run the hottest wash with heated dry or the sanitize setting.
- Wash your hands before unloading, and air-dry anything still damp.
Worth knowing
Not all bottles are top-rack dishwasher-safe, and repeated high-heat cycles can cloud or warp some plastics faster than hand-washing. The cycle takes hours, so it only works if you own enough bottles to cover a full day — worth factoring in when you're choosing a bottle system in the first place, as we cover in our guide to bottles for breastfed babies. Anti-colic vents with tiny parts are also easy to lose in a dishwasher; count pieces going in and coming out.
How Often Do You Actually Need to Sterilize?
This is the question that decides whether a sterilizer deserves your counter space at all.
- Before first use: sterilize every new bottle, nipple, and pump part once.
- Under ~2 months, premature, or immunocompromised: sanitize feeding items at least once daily, per CDC guidance.
- Older, healthy babies: careful washing after every feed is the core routine; many families drop daily sterilizing entirely, or keep a weekly cycle for peace of mind.
- After illness, or if items touched something questionable: sterilize again.
Water source matters too: if you use well water or your area is under a boil-water advisory, lean toward more frequent sterilizing and follow local health guidance.
If your baby has any medical complexity, this is a pediatrician conversation, not a blog decision.
Drying and Storage: The Step Everyone Skips
Sterilizing is undone by a damp bottle sealed in a cabinet. Moisture trapped in an assembled bottle is exactly what mold and bacteria want — and in humid island air, things dry slowly.
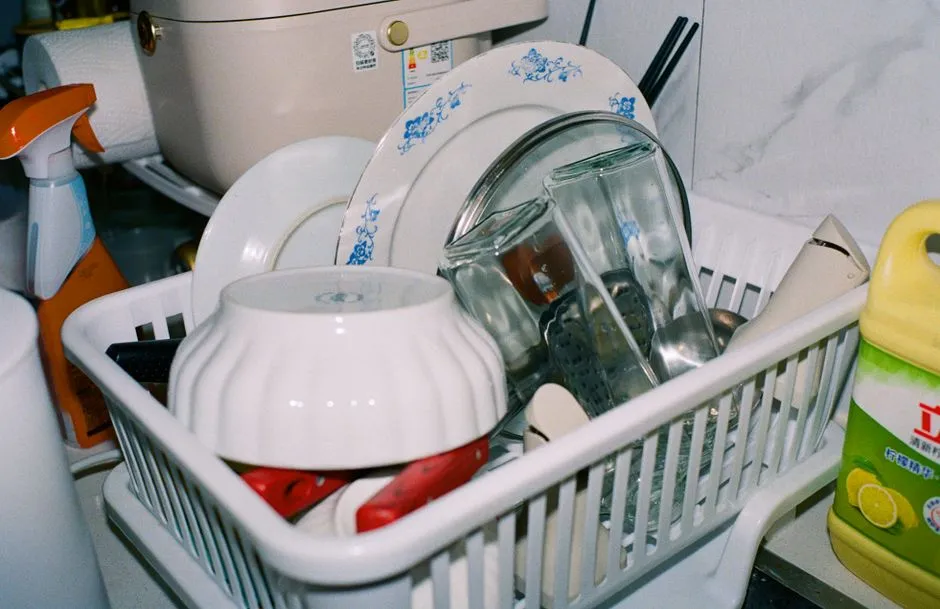
- Air-dry fully on a dedicated, regularly cleaned drying rack — not the family dish towel.
- Store fully dry parts either assembled with the cap on, or disassembled in a clean, covered container.
- Wash the drying rack itself every few days; it's a germ reservoir people forget.
- In very humid homes, a rack placed near airflow (a window, a fan's path) makes a real difference.
Our Bottom Line
Pick the method that matches your kitchen, not the one with the most buttons. Boiling costs nothing and suits families who only sterilize occasionally. A steam sterilizer earns its spot if you're sanitizing daily in the newborn months with a big bottle rotation. Microwave bags are the minimalist and travel winner. The dishwasher wins for anyone already running it daily with dishwasher-safe bottles.
Whichever you choose, the routine that matters most is the unglamorous one: full disassembly, a proper scrub, and a complete air-dry. For the rest of your bottle setup, our feeding collection covers what's genuinely worth the counter space.